Paint protection film (PPF) is an essential investment for car owners seeking to preserve the pristine appearance of their vehicles. This clear, durable film serves as a shield against scratches, chips and other forms of damage, helping to keep it looking new for years! Though professional installation may be preferred by car enthusiasts, many prefer DIY installation themselves.
We've spent countless hours gathering and testing expert tips just for you. Surprisingly, attaining a flawless PPF application is within reach—even for first-timers. Before diving into the installation, it’s vital to start with the right preparations. This initial stage often distinguishes amateur work from professional results.
Our comprehensive paint protection film installation guide provides detailed instructions on surface preparation, proper application techniques, and tools required for a successful PPF installation. Following these steps diligently will ensure long-lasting protection and an impeccable appearance for your vehicle's paintwork. However, always consult a professional installer if you are unsure about any step in the process.
Preparing for Installation
Before beginning the installation of paint protection film (PPF), it is critical to lay a solid foundation with meticulous preparation. Remember, the key to a successful PPF installation is in the groundwork: ensuring you have the right products, understanding your vehicle's specifications, and creating an optimal work environment.
Factors to Consider
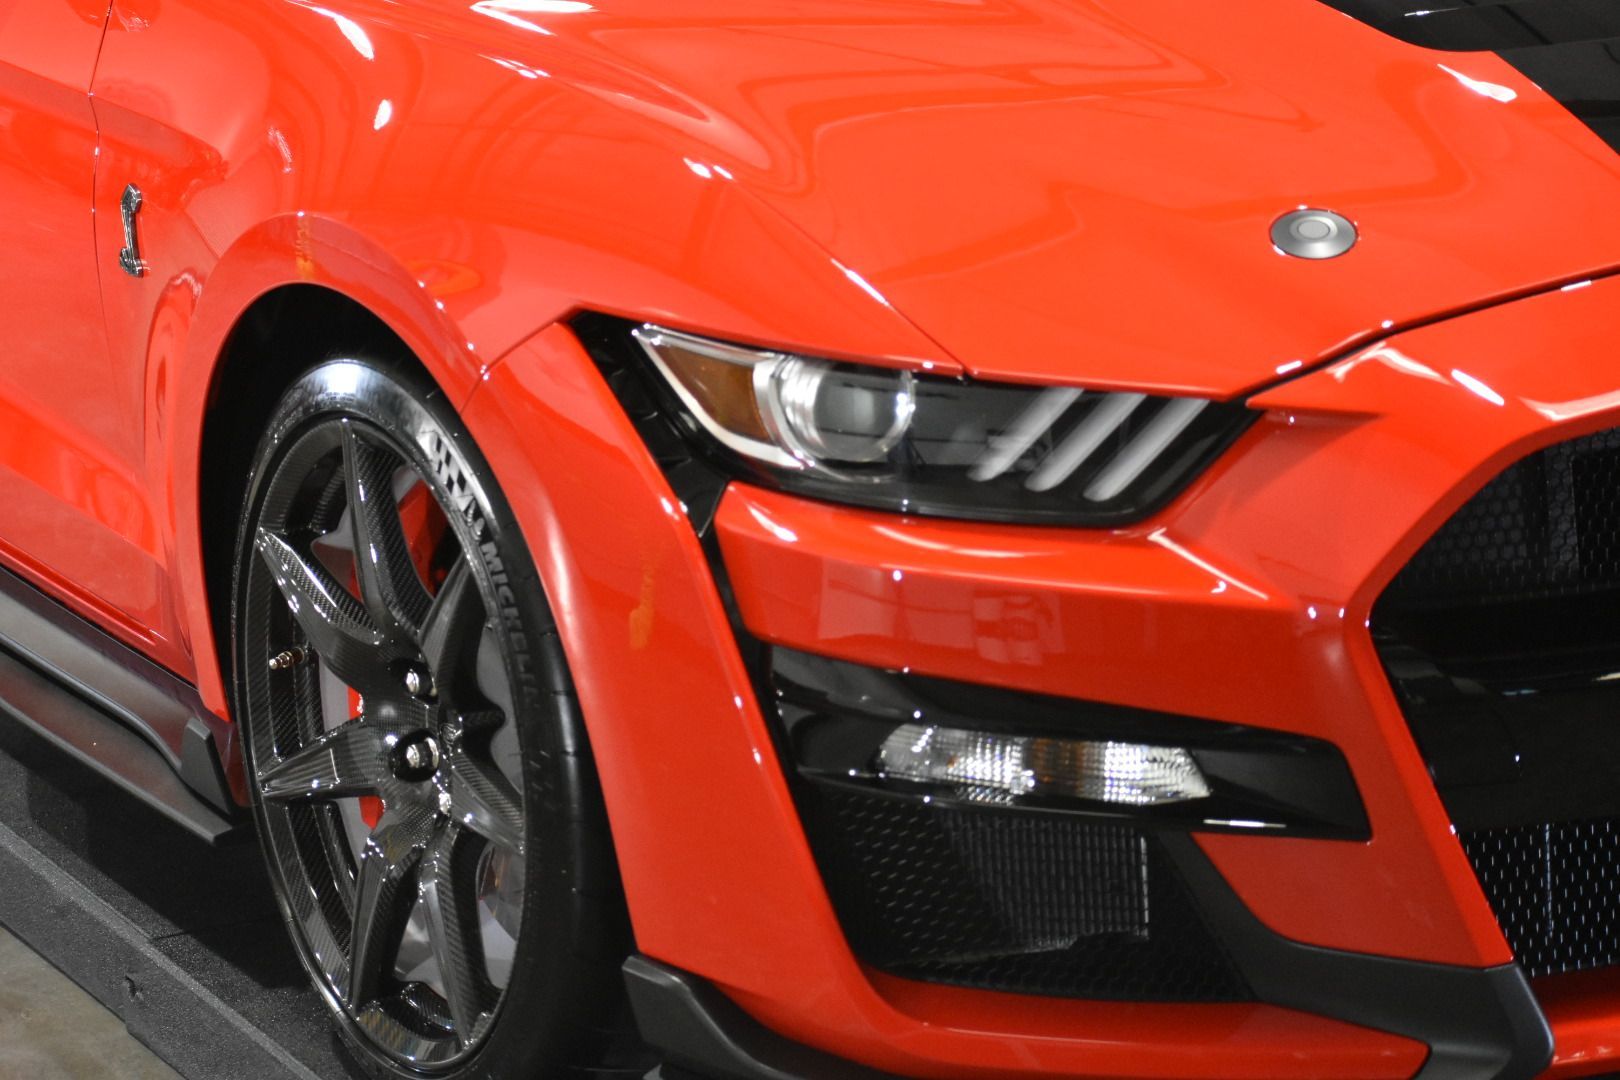
When searching for the right PPF for your vehicle, consider factors such as its make, model, and year. Because of differences in paint quality and surface shape, different vehicles may require specific types of paint protection films. It's crucial to research extensively and consult user manuals or vehicle-specific forums to determine the best product for your needs. By gathering this preliminary information, you can ensure that the PPF you select offers comprehensive protection and a seamless fit for your vehicle.
For instance, some PPF products may be designed specifically for sports cars with sleek contours and angular surfaces, while others may cater to SUVs with more extensive panels. Each type of vehicle may require unique considerations for the PPF application.
Ideal Workspace
Ensuring a controlled environment is equally paramount. Select a workspace in a clean, dry area free from dust and wind—a garage is often an ideal location. The absence of airflow prevents contaminants from getting under the film during installation, ensuring a cleaner and more precise application.
Remember, the success of your installation often depends on the environment you're working in as much as the materials themselves.
Cleaning and Surface Preparation
Now that your car is clean, let's dive into the important process of ensuring the surface is perfectly prepped for your paint protection film. The goal here is to get rid of any residue or particles that might interfere with a smooth application. Think of this step as creating a clean canvas before an artist starts a new painting.
Step 1: Claying the Surface
After giving your car a thorough wash, claying the surface becomes crucial. A clay bar can effectively remove embedded contaminants such as tar, industrial fallout, and other stuck-on particles that regular washing might not be able to eliminate. This ensures that your paintwork is smooth and free of any impurities that could interfere with the adhesion of the paint protection film. Remember to lubricate the surface with a quick detailer or soapy water to reduce friction when using the clay bar.
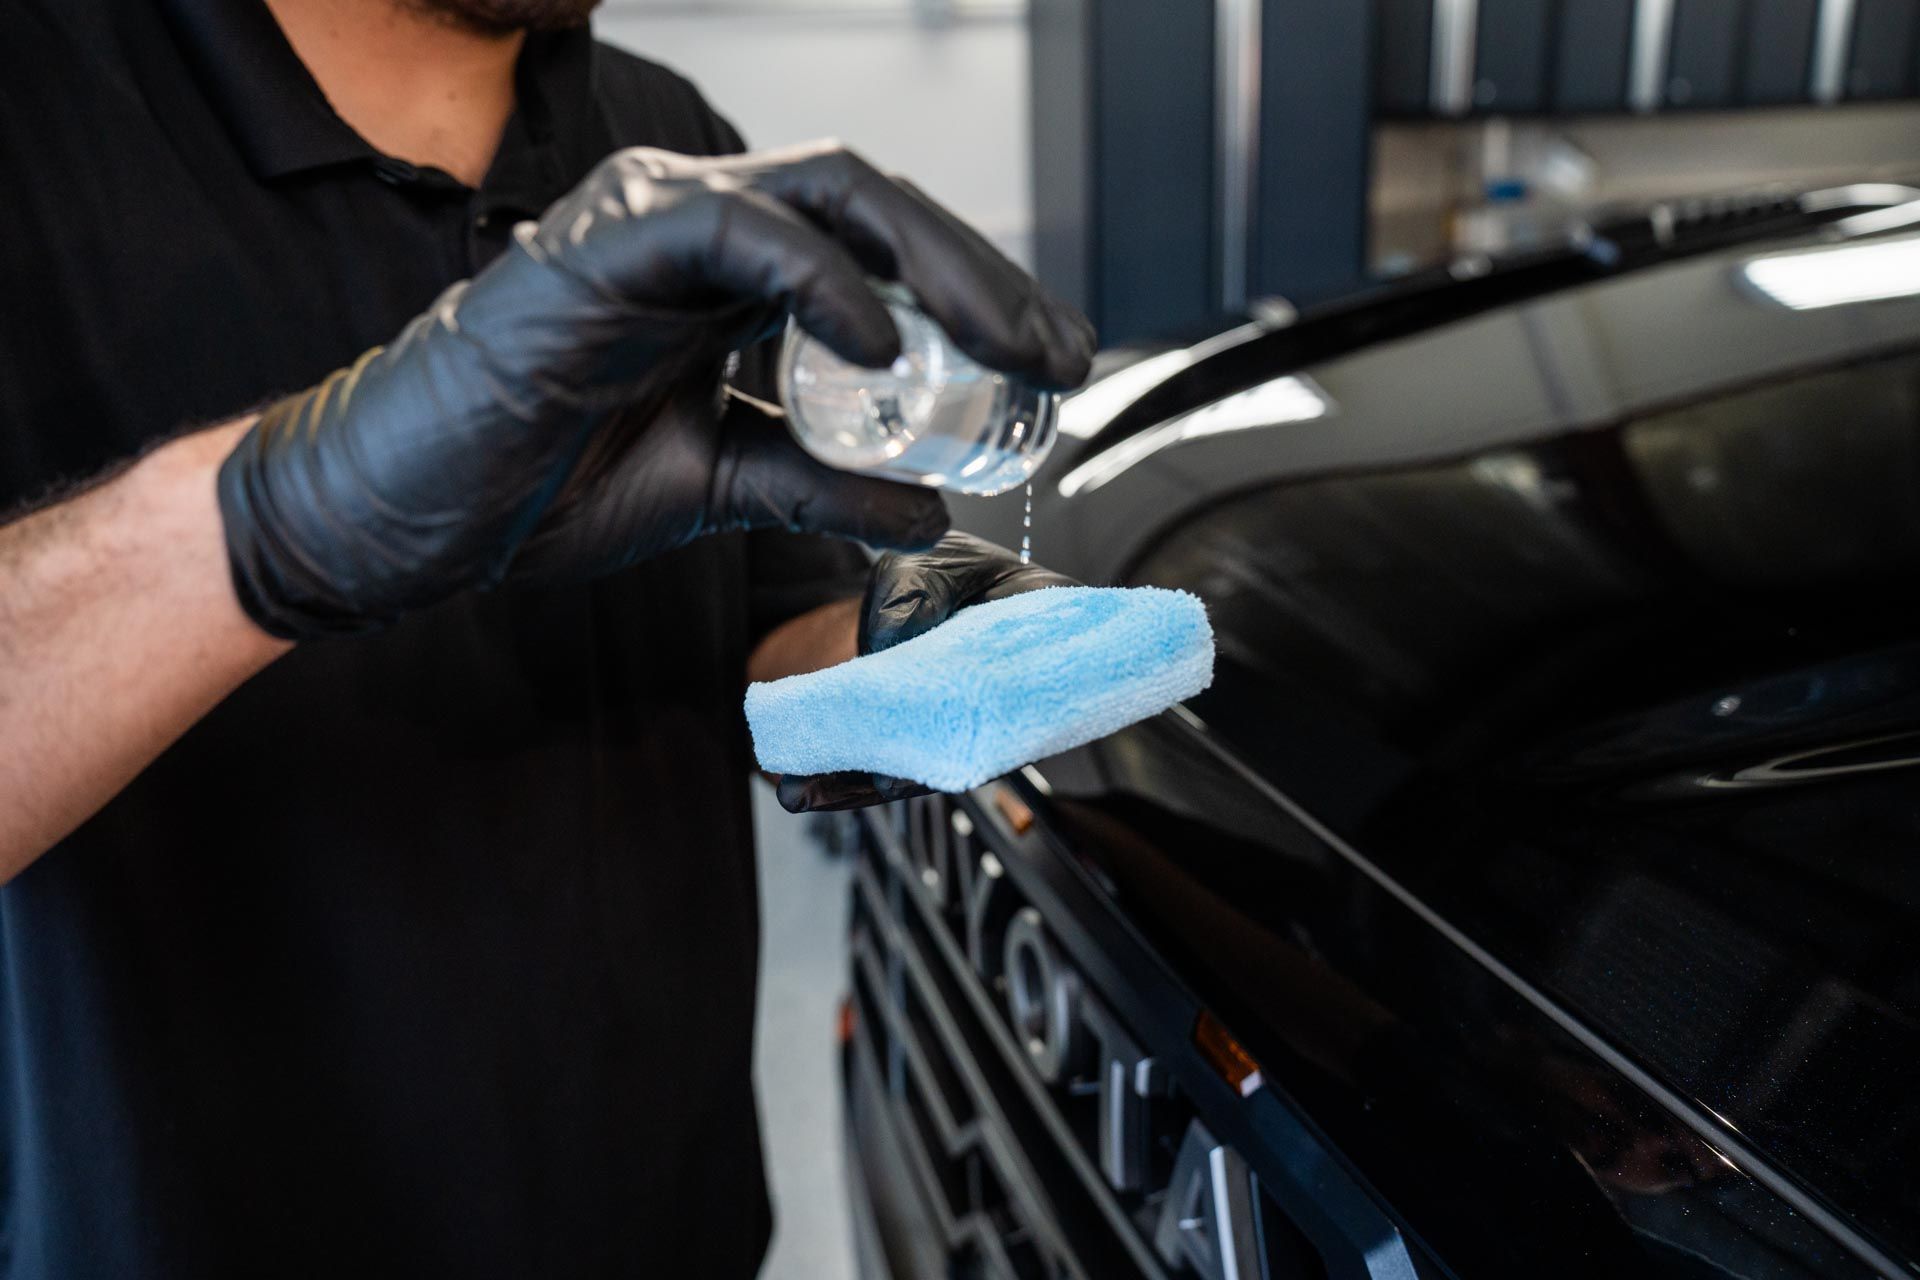
Step 2: Degreasing
Once claying is complete, it's essential to prepare the surface further by degreasing it. A mixture of isopropyl alcohol and water in a 1:1 ratio works wonders here. This solution helps eliminate any traces of oils, waxes, or residual contaminants that may still be clinging to the surface. It's essential to use a microfiber cloth and gently wipe down the entire area to ensure a completely clean and smooth surface.
Step 3: Final Inspection
After claying and degreasing, inspect the surface carefully under good lighting conditions. Look out for any spots that might have been missed during the cleaning process or any lingering residues. The cleanliness and smoothness of the surface will directly impact the quality of your paint protection film application, so taking this time for a meticulous inspection is crucial.
Creating a pristine surface ensures that the film will adhere properly without any impediments, ultimately leading to exceptional results in both appearance and longevity.
Setting Up the Installation Kit
Now that your car's surface is clean and prepped, it's crucial to have the right tools and materials organized before you begin installing the paint protection film (PPF). Having everything easily accessible will make the installation process smoother and more efficient.
Step I: Organize Your Tools
Lay out your tools in an easily accessible manner. This includes the PPF sheet, squeegee, application fluid, cutter knife, and microfiber cloths. Having all your tools within arm's reach avoids interruptions during installation.
Imagine trying to find a tool or material while holding a partially applied PPF sheet—it's not just frustrating but also a risk of potential mishaps. A clear and organized work area assures smooth progress, enabling you to focus on applying the film accurately without unnecessary distractions.
Step II: Pre-Cut the Film
Measure the areas where you will apply the film and cut the PPF sheets accordingly, leaving a little extra around the edges to ensure complete coverage. Precision in cutting the film is vital for achieving a seamless and professional-looking installation.
Cutting the PPF sheets accurately saves time and reduces waste. It's better to have slightly more film than required rather than ending up with insufficient coverage during installation. Remember, it's easier to trim off excess film than to realize you didn't measure correctly after starting the application process.
Step III: Prepare the Application Fluid
Mix a soapy water solution using mild dish soap and water, or use an installation gel if recommended by the PPF manufacturer.
The application fluid prepares the surface and allows fine adjustments during placement of the film. Its purpose is to provide lubrication for repositioning and eliminating air bubbles under the PPF sheet. When mixed correctly, it enhances the overall adhesion of the film.
By setting up your installation kit methodically, you're laying a solid foundation for a successful paint protection film application. Each step contributes to achieving a flawless finish that protects your car’s paint while maintaining its aesthetic appeal.
Applying the Film
Applying the film is where you get to see your efforts come to life, and it's important to do it carefully for the best results. Let's break down the steps:
Step 1: Damping the Surface
Before you start applying the film, spray the application fluid generously over the area where the film will be placed. The fluid helps in repositioning the film if needed and also reduces air bubbles. This step is crucial, as it creates a moist surface for the film to stick to and makes it easier to maneuver into place.
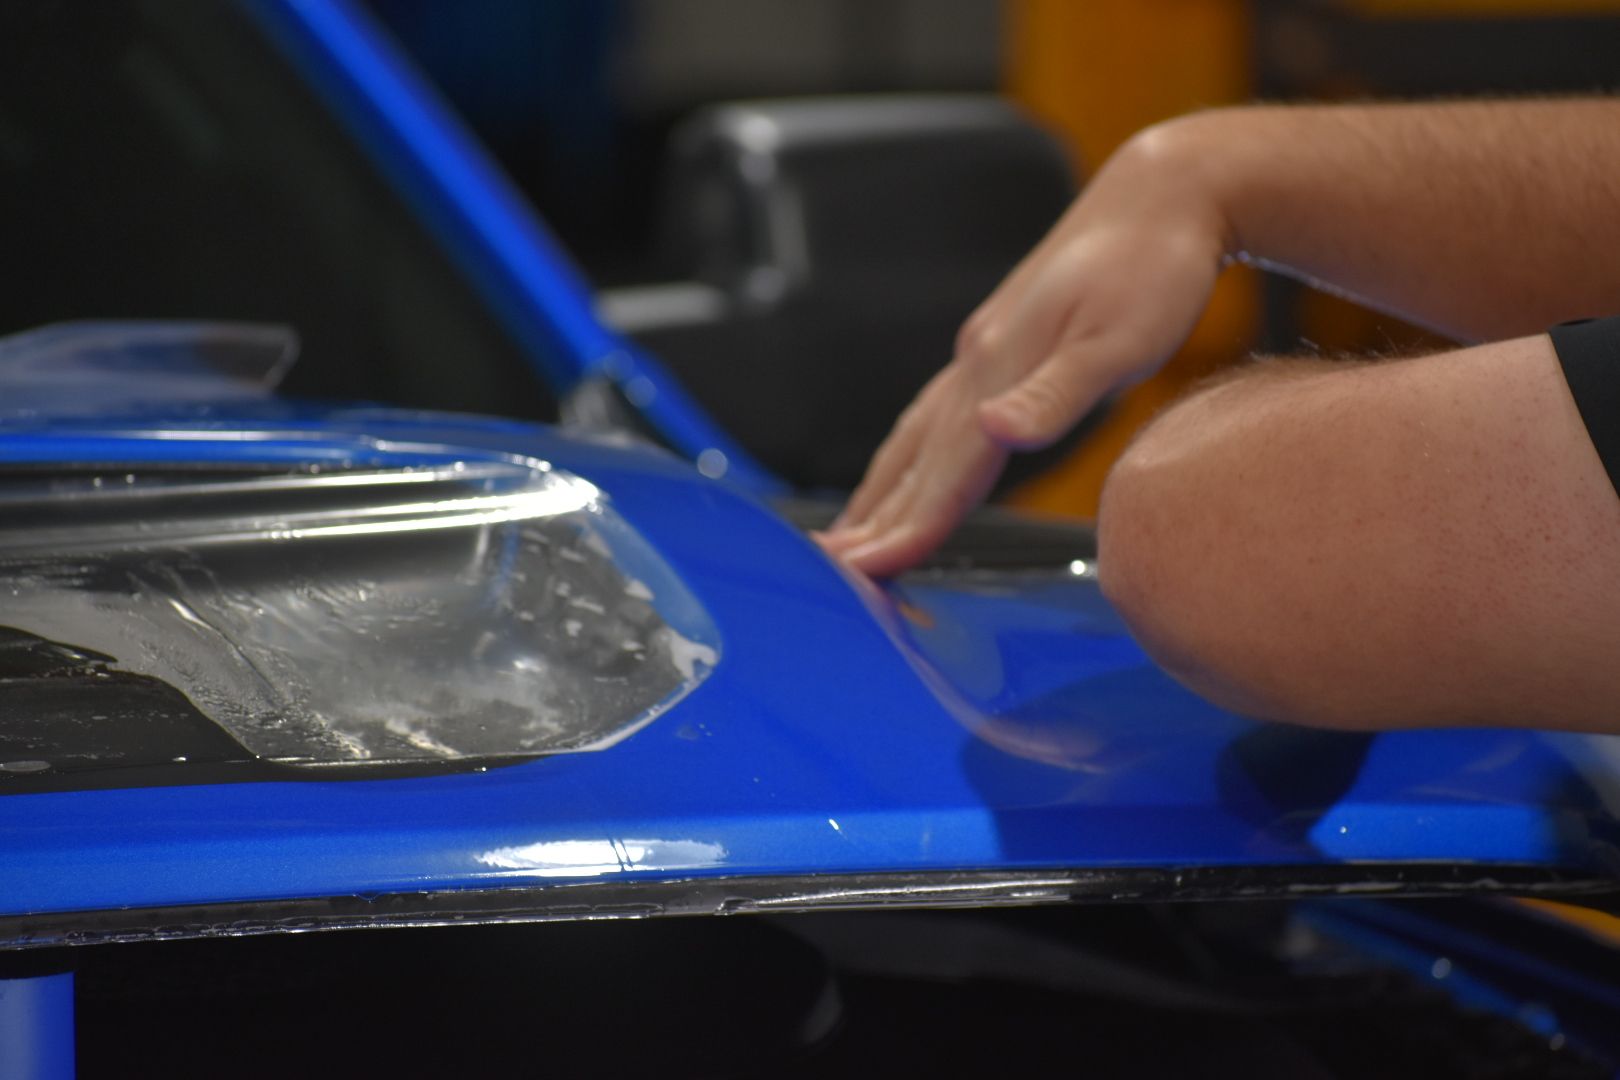
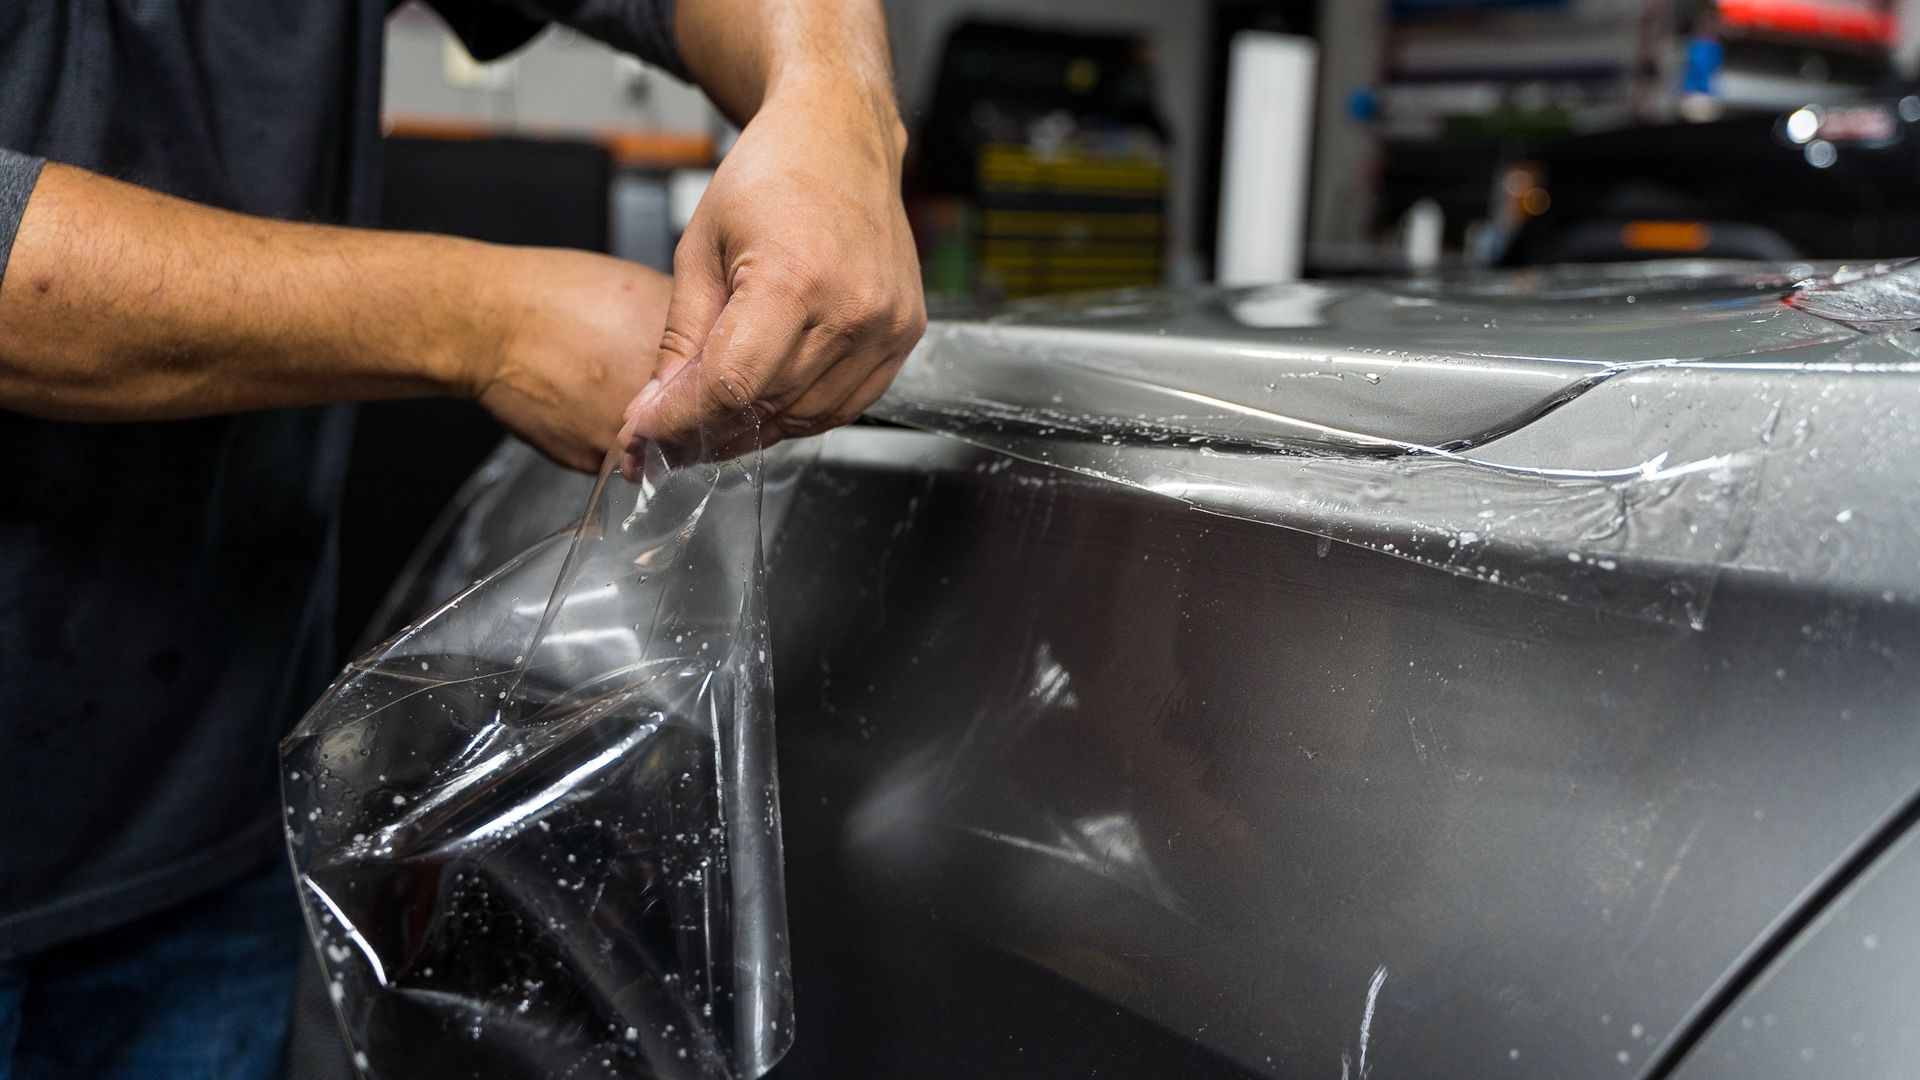
Step 2: Positioning the Film
Now that you have a damp surface, peel the backing off the PPF carefully and position it on the surface of your vehicle. It's important to align it accurately with the edges and curves of your car. Patience is key here because taking your time ensures a smooth and precise application.
Step 3: Squeegee Out Bubbles
Once the film is in place, it's time to remove any air bubbles and excess application fluid. Using a squeegee, start from the center of the film and work your way outward. This method ensures that any trapped air or liquid is squeezed out of the film. It's crucial to take your time with this step as well, ensuring that all air bubbles are eliminated for a seamless finish.
Remember, patience and precision are key when applying paint protection film. Take your time with each step, and you'll be rewarded with a flawless finish that not only protects your car but looks great too.
By following these steps meticulously, you'll ensure that the paint protection film is applied correctly, providing optimal protection and enhancing the aesthetics of your vehicle.
Handling Tools and Equipment
The right tools are like good friends—when you have them, everything becomes so much easier. For the paint protection film installation process, it's crucial to gather the proper tools and handle them with care so they can do their job effectively. These tools include a soft edge squeegee, a sharp cutter knife, and an air release pen. Let's take a closer look at each.
Soft Edge Squeegee
The key to using a squeegee when applying the film is to ensure it has a soft edge to avoid any scratches on the surface. Much like massaging, applying even pressure as you move the squeegee across the film ensures that it adheres smoothly without any creases or bubbles. The goal is to gently guide the film into place without generating excessive force that might damage it.
Sharp Cutter Knife
A sharp and precise cutter knife is essential for cutting the film to fit the specific dimensions of your vehicle. It's important to hold the knife at a shallow angle to avoid damaging the vehicle's paint while trimming the edges of the film. For instance, picture this step much like a meticulous surgery where precision is paramount.
Air Release Pen
When dealing with stubborn air bubbles that might appear during the application, an air release pen comes to the rescue. By carefully using this tool to puncture and smooth out these bubbles gently, you can ensure that the film adhesion remains free from imperfections or distortions. This pen allows for intricate adjustments, ensuring that every part of your car is well-protected without discrepancies.
By handling these tools with dexterity and care, you'll be better equipped to install the paint protection film smoothly and effectively.
Wrapping and Finishing Touches
Wrapping your car with paint protection film is like putting the cherry on top of a meticulously prepared cake - it's the final step to ensure your vehicle gets the ultimate protection. Let's walk through each vital part of this process to make sure it's done right.
Step I: Sealing the Edges
After carefully applying the film over your car, it's crucial to secure all edges firmly in place. This not only ensures a neat and professional finish but also prevents any potential lifting or peeling over time. Using the squeegee once more, gently but firmly press down around the edges, ensuring that they are all securely adhered. Taking your time with this step will significantly contribute to the longevity of the film.
Step II: Heat Gun Use
In some instances, you may encounter small wrinkles or bubbles in the film, particularly around complex curves or contoured areas of your vehicle. Not to worry! By using a heat gun set on a low setting, you can gently warm the film to help it conform to these intricate shapes and eliminate any imperfections. The gentle application of heat will aid in molding the film seamlessly onto the curvatures of your vehicle, ensuring a smooth and flawless appearance.
Step III: Final Inspection
The last phase involves giving your freshly wrapped vehicle one last thorough inspection. Using a microfiber cloth, wipe down the entire area and carefully examine for any imperfections or trapped debris. If you spot any issues, such as air bubbles, creases, or trapped particles, address them immediately with the utmost care. Smoothing out these imperfections promptly will guarantee a pristine finish while promoting long-lasting protection for your car's surface.
Remember that proper installation requires meticulous attention to detail at every stage. It ensures that not only does your paint protection film look immaculate, but it also functions effectively in safeguarding your vehicle against various environmental elements.
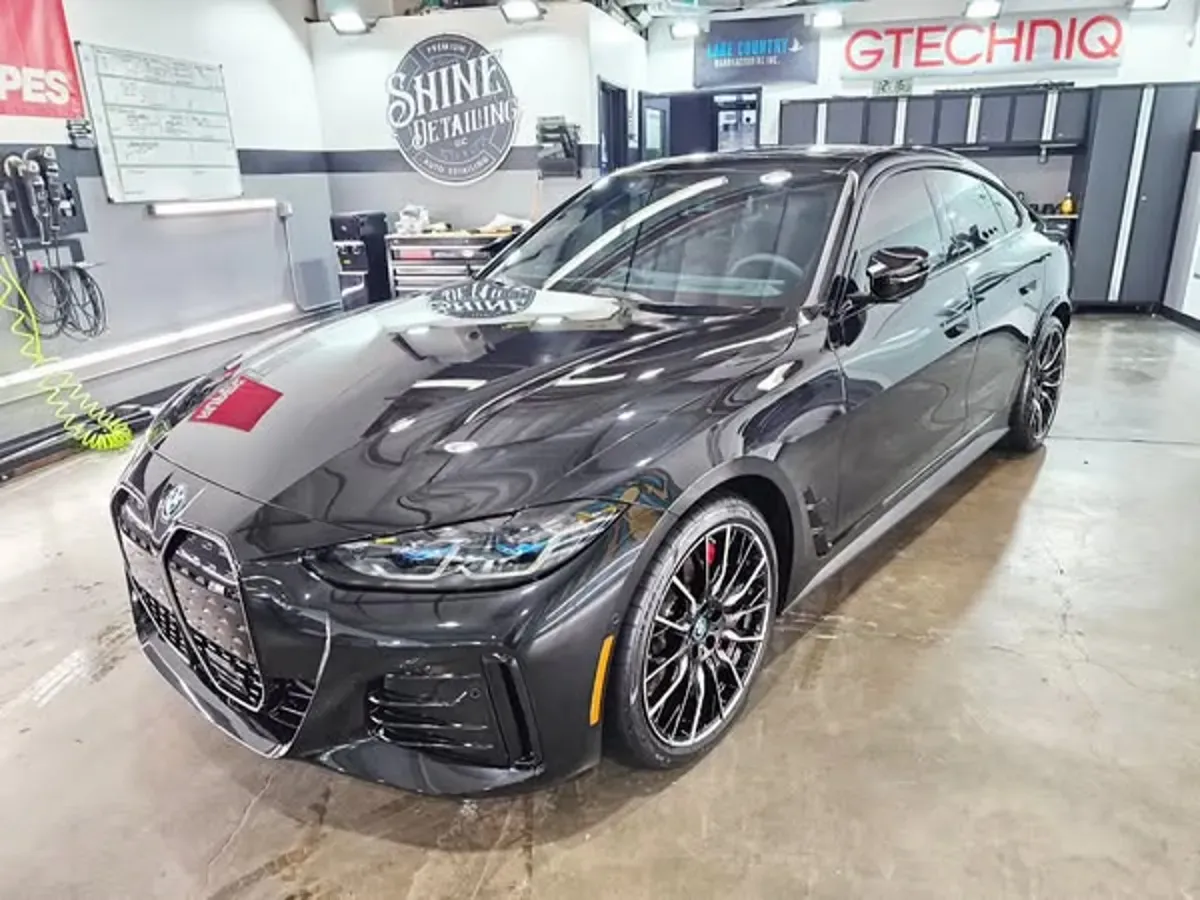
If you find this process daunting, don't fret. Shine Detailing offers professional installation services to guarantee impeccable results without any hassle. We are dedicated to providing the ultimate shine and experience for our clients and we recognize that vehicles are a reflection of personal identity.
For professional assistance with installing paint protection film for your vehicle, contact
Shine Detailing. Call us at (714) 514-5956 for a seamless and perfect installation!
about us
Located in the scenic city of Yorba Linda, CA, Shine Detailing, an esteemed member of the International Detailing Association (IDA) since 2018, stands as a testament to superior vehicle detailing services. Founded in 2013 by a vehicle enthusiast, Kelly Johnson, with an enduring passion for vehicle detailing traced back to their childhood. Shine Detailing is dedicated to providing a comprehensive array of services, including ceramic coating, paint correction, paint protection film, window tint, and detailing. Harnessing the skills of experienced technicians and high-quality products, the company ensures absolute care and attention to all types of vehicles. A firm believer in the mantra, Never Too Dull To Shine, Shine Detailing is the go-to company to transform any vehicle into a radiant reflection of its owner.
OUR LOCATION
22343 La Palma Ave, Suite 110
Yorba Linda, California, 92887
United States
SOCIAL MEDIA


Trained Specialist
HOURS OF OPERATION
Monday- Friday
5:00 a.m. - 4:00 p.m.
Saturday & Sunday
CLOSED
CONTACT US
PHONE: (714) 514-5956
EMAIL: info@shinedetailingllc.com

Shine Detailing was designed by the team at Detailers Roadmap, a platform developed for detailing operators across the globe.